The fir car decking came from the Second Use, it had been outside for a while so it needed a lot of sanding and oiling, each board took about an hour, and there were about 50 boards all together.
The beams came from an old Seattle warehouse. The warehouse was about a 100 years old, the vertical grain fir is likely 400-500 years old. It is beautiful wood and I like how you can see a few hole from the bolts which suspended it in its original location. The original beams were enormous. We had four 6"x 10" beams milled from half of one original beam!
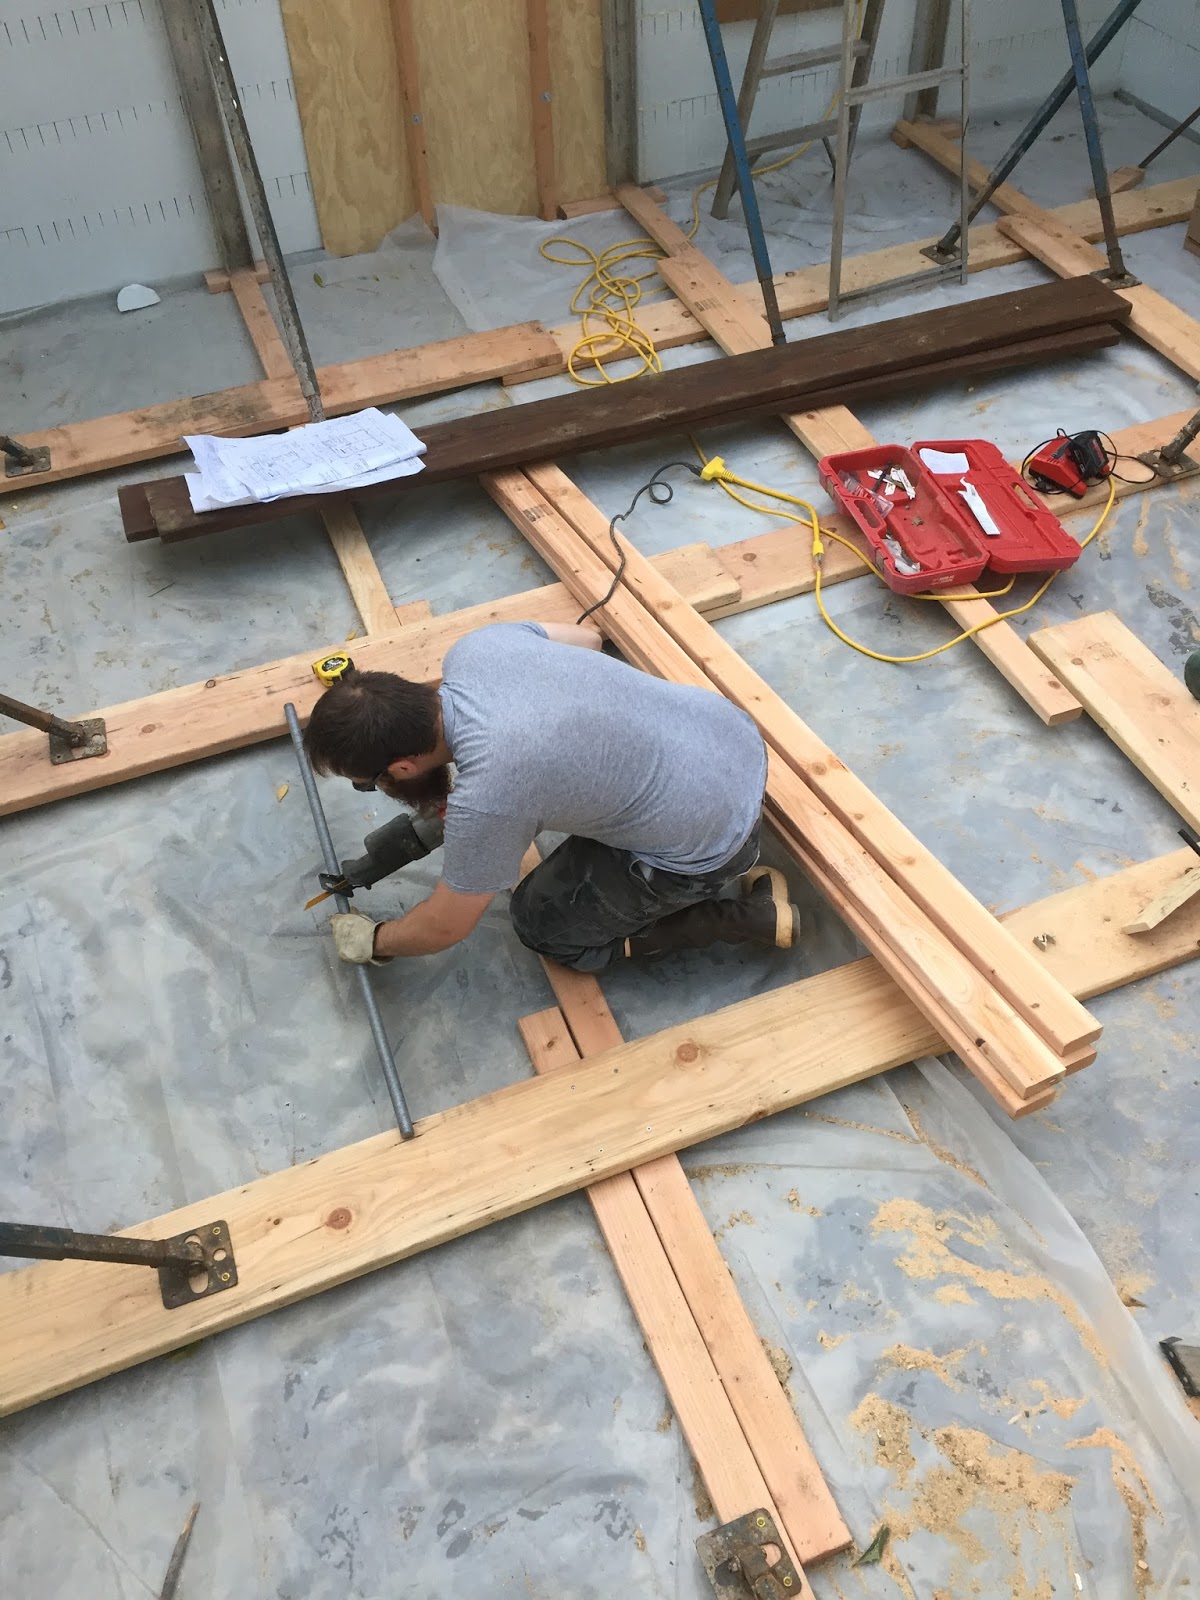
On October 10th we hired two awesome carpenters to help us frame. They are very fast! We were able to finish framing first floor walls, both interior and exterior.
We framed each exterior wall on the floor in ten foot sections and then raised them up.
We are working our way out of the hole! This week we began framing our exterior walls for the first floor. We have lucked out with the weather but are working quickly to get out of the rain!
The footprint is 20ft by 20ft so we are building each wall in 10ft sections so that they are not too heavy to raise
On September 22 the concrete truck and pumper truck showed
up at 8 am and we began pouring our walls. We poured two feet at a time with 30
minute breaks to prevent our forms from blowing out. This was hard work! The hose
was very heavy, it took three of us to handle it!
At the top of the wall we set our j-bolts, all thread (which will hold our building onto the concrete) and pressure treated ledger boards. When everything was set
we hand troweled the top to make a smooth place for our sill plates to sit.
Below is a time lapse video of building the scaffolding and pouring the walls.
Rather than building forms from plywood and then insulating
we decided to use the Quadlock system as it does both of those things in one
step. First we tied in our vertical rebar and then began putting the forms
together was fun, it was like stacking big foam Legos! Once we set, leveled,
and put spray foam under the track for the first layer, it went rather quickly.
The white foam blocks are held in place by yellow plastic braces, which also
provided a cradle to tie in the horizontal re-bar.
After the forms were up, we braced
the center as we ended up with a seam going down the middle of the wall.the wall. Next we set up the scaffolding which we rented along with
the Quadlock system.
Stacking the forms
Almost done!
Assistant Project Manager
Our only exit/entrance
Sean bracing the scafolding
My mom getting the j-bolts ready to set at the top of the wall
Forms are done and scaffolding is up, ready for our second pour!
On September 1st 2015 we began excavating our driveway and the hole for our basement. We ended up with an amazing excavator named Matt, he was a total ninja with his machine! The excavation took four days and he did a perfect job! As he dug, dump trucks hauled off the debris and dirt.


